Showing posts with label eos 5D Mark II. Show all posts

Sunday, 20 May 2018

New tech. New ideas and building site progress photography

I currently have an ongoing project.

Since April 2017, I have traveled every two weeks to a building site, ten minutes from where I live, to document the progress of the construction. 

Using the architects own plans, I was able to see the best vantage points to show the progress in the best way. I was delighted when a couple who live in an apartment overlooking the site offered to let me use their balcony whenever I am there. 

On my very first visit, I took many general photos. Back home, I produced JPG's and superimposed my Canon 5d MKII's focusing points over the image. I transferred these images to my Samsung tablet so that when I am onsite, I can see exactly where my camera should be pointing.


My reason for taking as many images as possible on my first visit is because I have learned from past experience that eventually, there will be objects such as walls etc which will block your view or even pop up where you originally were standing!

My other "constant" is the lens and body combination. I use a 5d MKII fitted with an EF 16-35mm zoom. All the images I make are taken at the wide end. With this method, I can ensure uniformity in my results.

"So where are the new ideas mentioned in the headline"? I hear you ask. Last year I won a Samsung Gear 360 camera in an online competition. This is a golf ball sized device that has a lens on the front and on the back.

The two lenses' f.o.v* overlap with each other and some clever software stitches them together. This results in 360 degree images or videos that you can view and move around in, on your PC or smartphone.


The Samsung gear 360 camera

And here are some of the resulting images.

You can see more of my 360 images on the wonderful Kuula website.

The Samsung gear 360 is compatible with the Galaxy S7 edge, Galaxy S7, Galaxy Note5, Galaxy S6 edge+ and Galaxy S6 smart devices. You can however use it without a smartphone.

Every six months, I put together a series of still images to make a "stop motion" type movie using the free and very capable Microsoft Movie Maker programme. Here is the latest version.


That's the beauty of photography. There's always something new and exciting to discover. Whether it's a new camera or lens or even just a reworking of an old technique. Our hobby / Passion is always well fed.

Thanks for reading.


*f.o.v field of view


Friday, 16 February 2018

Maps, books, cities and churches

I've been doing this photography lark since 1979. My first image was printed in a newspaper for US soldiers based in (then) West Germany around 1980. I was thrilled to see my image of tanks driving through a gate and bought several copies of the newspaper.

The feeling has never gone away. True, the internet allows us all to see our work published but nothing in my opinion beats having my images featured on paper.

Last year I was contacted by Jasper van Puten, a lecturer at  the Massachusetts School of Art and Design. He had seen an image of mine on Google Earth that would help to illustrate a part of a book he was in the process of writing "Networked Nation: Mapping German Cities in Sebastian Munster's 'Cosmographia' (Maps, Spaces, Cultures)".

Here's the blurb about the book. "Jasper van Putten examines the groundbreaking woodcut city views in the German humanist Sebastian Münster’s Cosmographia. This description of the world, published in Basel from 1544 to 1628, glorified the Holy Roman Empire of the German Nation and engendered the city book genre. Van Putten argues that Münster’s network of city view makers and contributors—from German princes and artists to Swiss woodcutters, draftsmen, and printers—expressed their local and national cultural identities in the views. The Cosmographia, and the city books it inspired, offer insights into the development of German and Swiss identity from 1550 to Switzerland’s independence from the empire in 1648.* "

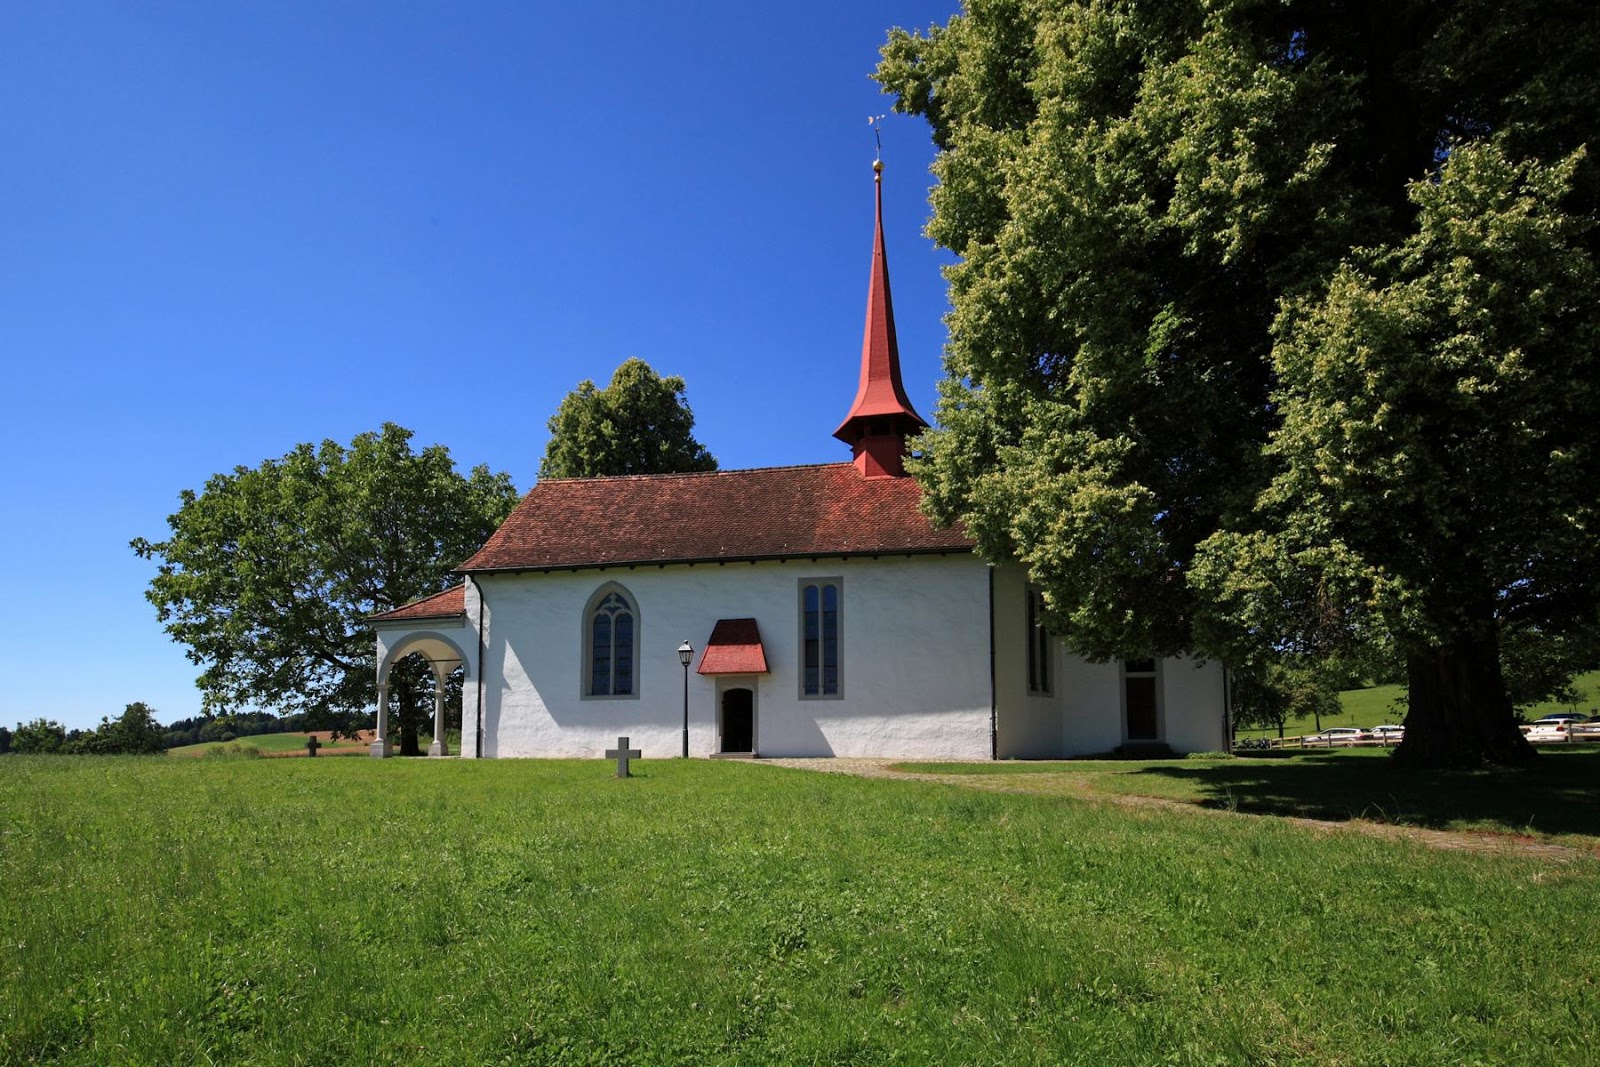
My image was to be used in the Swiss identity section of the book and was taken at the Sempacher "Schlachtkapelle" (Sempach Battlefield chapel). The chapel is built on the site of the battle of Sempach which took place in 1386 and was decisive in helping Switzerland win independence from the mighty Austrian Habsburg empire. Jasper was interested in using my image of the mural in that chapel which depicts the battle.

Aside from photography, I also enjoy studying and collecting old maps and engravings, so I was over the moon at having one of my images considered for inclusion in the book. We agreed a reproduction fee and several weeks later I received a mock up of how my image would appear in the book.


Here's the image in more detail:

Canon 5d MKII 16-35 zoom. ISO 640 1/40 at f4.5

The book is now in print and at the time of writing, only one copy is still available on Amazon.

As for the chapel itself, it is a place I love to visit with my camera. One of its features is that it has an ossuary (beinhaus in German). A repository of bones to commemorate the dead. Ossuaries are a pet project of mine and I have some of my ossuary images here for you to see on Google Plus.

For a more immersive experience, you can see the chapel interior in full 360 degrees courtesy of my 360 degree image of the chapel interior.

Here are a few more images of the fascinating place.

  Canon 5d MKII 16-35 zoom. ISO 200 1/200 at f13

  Canon 5d MKII 16-35 zoom. ISO 200 HDR Tonemapped image

 Canon 5d MKII 16-35 zoom. ISO 200 HDR Tonemapped image

Canon 5d MKII 16-35 zoom. ISO 200 HDR Tonemapped image


Wikipedia article about the battle and the chapel

* Book description from this website.

The book is also available from Amazon 

As ever. Thanks for taking the time to visit and if you have any questions then please doon't hesitate to get in touch.

Tom

Wednesday, 6 May 2015

Sorry. That's too big.

I recently visited the Gauguin exhibition at the Beyeler Foundation just outside of Basel with an art loving friend.


Beyeler Foundation

As it was my first time at a major exhibition, I decided to take a serious camera with me and not rely on snaps from my capable mobile phone because I wanted to have some of the resulting images printed out in postcard size as a memento for my friend and thought that I would probably need to crop or zoom in if there were too many people there.

I chose my EOS 5d MKII together with the 24 - 105 zoom and a Speedlite 430 EXII.


Not acceptable

It was a beautiful day when we arrived and the waiting queue of people was not that long. The exhibition has been extensively advertised as a "blockbuster" type of event and has tried to capture public attention by its use of high-tech guides and even bringing in Hollywood star Keanu Reeves to open it!


After a short wait of only about five or six minutes, we reached the cloakroom and left our jackets there.

"You'll have to leave your camera behind." One of the attendants told me.
"Why?" I asked.
"That's the rule here" was his response

Reluctantly I handed over the camera and made my way through the next checkpoint.

The art gallery makes fantastic use of natural and artificial illumination. Lovely shadowless light that you normally experience on a cloudy but bright day. I looked around to take it all in and realised that THERE WERE LOADS OF PEOPLE TAKING PICTURES!

There were mobile phone cameras, bridge cameras, compacts, video cameras and even Tablet devices merrily snapping away.

I decided to join them and reached inside my coat pocket for my mobile phone only to discover that I had left in in my car. The car of course was too far away for me to go back to and I didn't fancy waiting amongst the people waiting at the entrance, which was growing longer by the minute, to get back in.

I really wanted to take some pictures for my friend so I approached one of the employees. We had a conversation something like this:

"Excuse me. I see that there are lots of people taking pictures here. Is that allowed?"

"Yes" he replied "But if there is a sign next to the painting forbidding it, then obviously we ask that it not be photographed"

"I tried to bring my camera in but they wouldn't let me". I said.

"Is it a big camera? Was his response?

"It is large in size. Yes"

"Then that is not allowed"

"But some of the people in here have cameras with perhaps better resolution than mine" I argued

"Big cameras are not allowed" was his reply.

"How about if I make it smaller?" I asked.

"That would be permissible" Said the guard.

"Great. Thanks", I replied. An idea forming in my head.

I made my way through the swelling throng of visitors back to the cloakroom and retrieved my camera from the attendant. To make my camera "acceptable", I simply removed the battery grip and the Speedlite.


Acceptable for exhibitions

As I mentioned previously, the lighting inside the Beyeler art gallery is ideal for photography. I took a spot meter reading of the palm of my hand and used the resulting reading, 1/50th @5.6 with ISO 800 for all the shots taken in the place. Such was the lighting consistency that I didn't need to change anything.
 

"Polynesian woman with children" (1901)

 Riders on the beach (II) (1902)


 Visitors inspecting Gaugin's largest piece of work.
"Where do we come from? What  are we? Where are we going?" (1897/98)

So if you are thinking of attending the Gauguin exhibition in Basel please be assured that you can take pictures but only with a compact, tablet device, video camera or mobile phone. if you want to use your (D)SLR, then try and make it as small as possible.

You can read more about the exhibition here.

P.S. As I have mentioned before on this blog, I am a bit of a philistine when it comes to art. 

As ever. Thanks for reading.

Friday, 23 January 2015

A couple session

I received a message last week from a model friend with whom I had lost contact with. Steffi had moved away from the area but was now back in my neighbourhood and made contact with me.

We talked a while and it was suggested that I take some updated photos for her portfolio. I was happy to do so and duly turned up at their house a day or so later. 

It was freezing cold and very overcast outside but thankfully her and her partner's apartment was lovely and warm. After a meal we set to work.

Because it was quite dark with the room lighting, I decided to use my Lightsphere Chinese clone to soften the flash. I attached it to my Speedlite 430 EX II and fired away. I really enjoy using my Lightsphere clone. The effect it has on the flash output is quite dramatic and turns what would normally be harsh shadows into soft pleasing romantic light.      


My Lightsphere copy on the table and at work

After moving some tables and chairs to make some space, we began the shoot.


The images above were all taken with the 24 - 105 using flash and the lightsphere clone. The ISO was 400.

After the sitting room, we went to the bedroom to get some photos of Steffi and her partner Marc as a couple. I wanted a light airy "feel" to the images so I mounted my two Speedlites on tripods and bounced them off the ceiling. The flash output was set to overexpose by one stop. To add to the "light and airy" mood, we took the duvet covers off. To trigger them, I used Phottix Odin transmitter and receivers. The Phottix Odins are simply fantastic to use and haven't ever let me down. They are way cheaper than Pocket Wizards and are more versatile.


I told Steffi and Marc to ignore me and just interact with each other. Their two cats joining us from time to time, helped produce some very pleasing images.


 One of the few images without flash


All the images above were taken with the 50 1.4.

Marc was also kind enough to take some images of me "at work".


Although, as usual, I took too much gear with me, I ended up only using my EOS 5D MKII, the 24 - 105 zoom and the 50mm 1.4. Still. It's better to take too much gear and not need it than to take just a few items and find that you miss something. 

Steffi is a real professional and a pleasure to work with. Nothing is too much trouble for her. If you'd like to see her online portfolio, you can use this link (German).

That's it for now. Thanks for reading and please feel free to leave some comments below.

Monday, 21 April 2014

Tilt and shift + lens buying tips

About a year and a half ago, I purchased a Canon TS-E 24mm f3.5 lens. A so called tilt and shift lens.

I bought it (second hand and in excellent condition) because I'd been shooting previously with a Sinar and a Rollei SL66 in the studio, which both have T&S capabilities and I wanted to be able to replicate the effect with my DSLR without resorting to computer trickery  .

  Sinar in the studio with the movements showing

Unfortunately my use of the lens was confined to testing it quickly in a car park when I met the guy who was selling it. We both lived far away from each other and agreed on a point midway where I could quickly test the lens before handing over the money.   

My method for testing a lens is this. 

  • I give the lens a visual inspection. I look for dust, dirt scratches etc on the lens. There were none.
  • Then I attached it to my camera and made a series of shots of the same subject in unchanging light using aperture priority. I shot at every aperture from f3.5 (wide open) to f22 (fully stopped down). I then scroll through the previews pictures on the screen. They should all be uniformly exposed. If one isn't then there is the chance that the aperture blades are not functioning properly. 
  • Next test is the shoot at different distances and check (with the help of the screen again) if the pics are sharp.
  • The last test is only done if the lens is an autofocus type (this particular lens is manual focus). I shoot a series of images of the seller walking towards me to try out the servo focussing. It also gives me a pic of the seller, should there be any "difficulties" later  :)
The lens passed all the tests and I gladly handed the money over. When i got home I put the lens in my equipment drawer and promised to use it on my next job . . 

Fast forward eighteen months later and I was wondering what to take pictures of on my free Sunday. I remembered the lens which was still sitting unused in my drawer. 

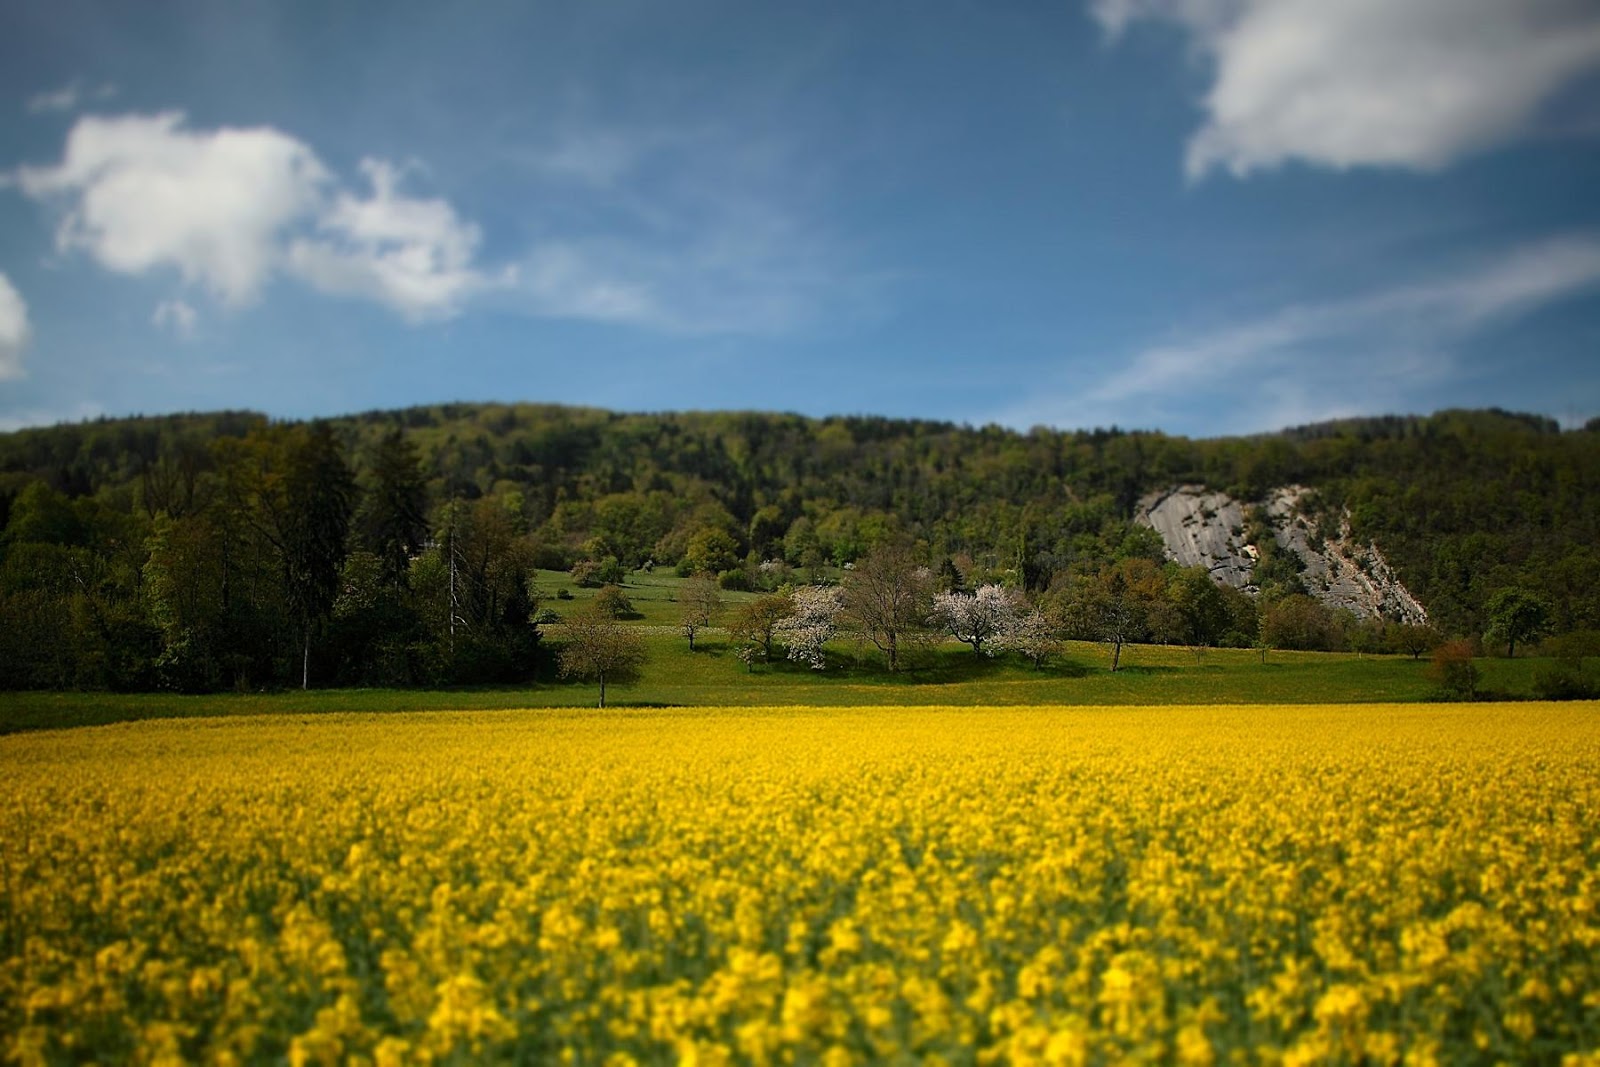
There's a beautiful mustard rape field about six minutes away from my house which is backed by part of the Jura mountain range. I decided to take a pic of this using the lens to get only the trees in focus.


I set the camera up on my trusty Benbo tripod and made sure that everything was level


This is NOT level

 The lens can also be rotated to use in vertical format 
 whilst still able to make use of all the movements.

After making a few test shots, I tilted the camera upwards and the lens downwards to give me the minimum amount of depth of field and I focussed using the live view mode to ensure that the trees were sharp. I ten took the picture (using self timer) at the minimum aperture.

Mustard rape. 1/3200sec @ f3.5 ISO 200
This pic is best viewed at full screen

 
I processed the RAW file in DPP and can honestly say that I'm pleased with the result. Unfortunately, there were no profiles for this particular lens so I used on instead for the 24mm f1.8 model.

I love playing with this particular piece of kit as it makes me stop and think about what I'm tying to achieve. Focus is manual and very precise. The live screen mode is recommended to be able to see what is happening. A good tripod is a must.

One person approached me whilst I was taking these images and informed me that the latest version of the lens is much better. I answered that just because Canon had replaced it didn't mean that it had suddenly gotten worse overnight!

There's a wonderful article by Keith Cooper over on the Northlight Images website about what exactly you can achieve with a T&S lens 

I'll be using it next month for an interior shoot that I have planned.

Thanks for reading.

Sunday, 23 March 2014

Quickie

Last week a client asked me to do some product shots that he needed in a hurry for a promotional campaign. He has ten pairs of sunglasses to photograph with the country flags on the lenses for each land competing in the forthcoming football world cup. Time was of the essence so I decided to shoot them in my front room.

 The products

Another friend recently asked for advice on using a Somikon "Studio Box"  which she'd recently purchased so I used the sunglasses as a test so that I could show here the results that can be obtained from this piece of equipment.

I set up the studio box on a table in my sitting room and placed the glasses on the bottom. Using my Canon 5d MKII with a 50mm lens and my Benbo tripod.

To prevent my constantly bending over to look through the viewfinder, I attached my camera to my Samsung Galaxy tablet using the free DSLRdashboard software which is available from the Google Play store. This software shows me the captured image and I can zoom in and out to check focus etc. The software also has the option to save the images onto the device itself or just on the memory card.


I started at nine o'clock and with the help of the software and a big display, I was able to move various reflectors and light blockers around until I had an image that the client wanted.


 1st set-up. Too many reflections


The set-up I ended up using.

Another piece of equipment that I put to use were my Phottix Odin wireless flash triggers. These are quite simply, fantastic flash triggering devices. As they are wireless, they can fire the flash around corners and out of line of sight. With more than 2500 exposures I have not had one single misfire. You can also control the individual flash compensation by thirds of a stop. 

Glamour photographer Michael Zelbel also uses these triggers and have uploaded an interesting video about them. 


With the help of all these time saving devices I was able to get a good setup which I mailed to the client. He gave me the OK and I then photographed the next nine pairs.

After converting the CR2 RAW files into high resolution JPG's, I uploaded them to a website where I can apply clipping to make the background pure white.

Total time for the job was four and a half hours.

Here's one of the finished images.


Thanks for reading.


Friday, 31 May 2013

Amazing sunset.

Saw the most amazing sunset last night. At first I thought it was a fire in the distance but the colours started to spread across the sky and gradually grew more and more intense.
The first four images were taken with the 5D MKII and a 24 - 105mm zoom


 I then attached my 300mm f4 for this one.

300mm lens 1/128@f4
  
These two were taken using the Samsung Galaxy 3.

The really unusual thing about it was that my camera was pointing south!
Thanks for reading