Showing posts with label Eos 5d mark 2. Show all posts

Wednesday, 18 February 2015

Lens focal lengths from 16mm fish eye up to 420mm telephoto

On a fine Summer's day last year in my village, I decided to see what the range of every lens in my collection was. I took a picture with each one and combined them into this 50 second clip. . .

At the start, I used my EOS 5D MKII and the Russian Zenitar 16mm fish eye. After the 300 mm  I switched to my EOS 7D to make use of the crop factor which gave me an effective 420 mm focal length.


Since doing this test, I have sold my old 300mm and my 70 - 200 zoom. They've been replaced by the Canon EF 100 - 400L  zoom so I may have to repeat it again!

Thanks for reading.

Wednesday, 7 May 2014

On location. Olten

A quick snap taken yesterday whilst on location doing interiors at a doctor's practice in Olten. I used the EOS5D MKII with a 17 - 40 for the room photographs and my EOS 7d with a 50 mm f1.4 was used for detail pics.

Sunday, 23 March 2014

Quickie

Last week a client asked me to do some product shots that he needed in a hurry for a promotional campaign. He has ten pairs of sunglasses to photograph with the country flags on the lenses for each land competing in the forthcoming football world cup. Time was of the essence so I decided to shoot them in my front room.

 The products

Another friend recently asked for advice on using a Somikon "Studio Box"  which she'd recently purchased so I used the sunglasses as a test so that I could show here the results that can be obtained from this piece of equipment.

I set up the studio box on a table in my sitting room and placed the glasses on the bottom. Using my Canon 5d MKII with a 50mm lens and my Benbo tripod.

To prevent my constantly bending over to look through the viewfinder, I attached my camera to my Samsung Galaxy tablet using the free DSLRdashboard software which is available from the Google Play store. This software shows me the captured image and I can zoom in and out to check focus etc. The software also has the option to save the images onto the device itself or just on the memory card.


I started at nine o'clock and with the help of the software and a big display, I was able to move various reflectors and light blockers around until I had an image that the client wanted.


 1st set-up. Too many reflections


The set-up I ended up using.

Another piece of equipment that I put to use were my Phottix Odin wireless flash triggers. These are quite simply, fantastic flash triggering devices. As they are wireless, they can fire the flash around corners and out of line of sight. With more than 2500 exposures I have not had one single misfire. You can also control the individual flash compensation by thirds of a stop. 

Glamour photographer Michael Zelbel also uses these triggers and have uploaded an interesting video about them. 


With the help of all these time saving devices I was able to get a good setup which I mailed to the client. He gave me the OK and I then photographed the next nine pairs.

After converting the CR2 RAW files into high resolution JPG's, I uploaded them to a website where I can apply clipping to make the background pure white.

Total time for the job was four and a half hours.

Here's one of the finished images.


Thanks for reading.


Monday, 27 May 2013

On location portrait photoshoot

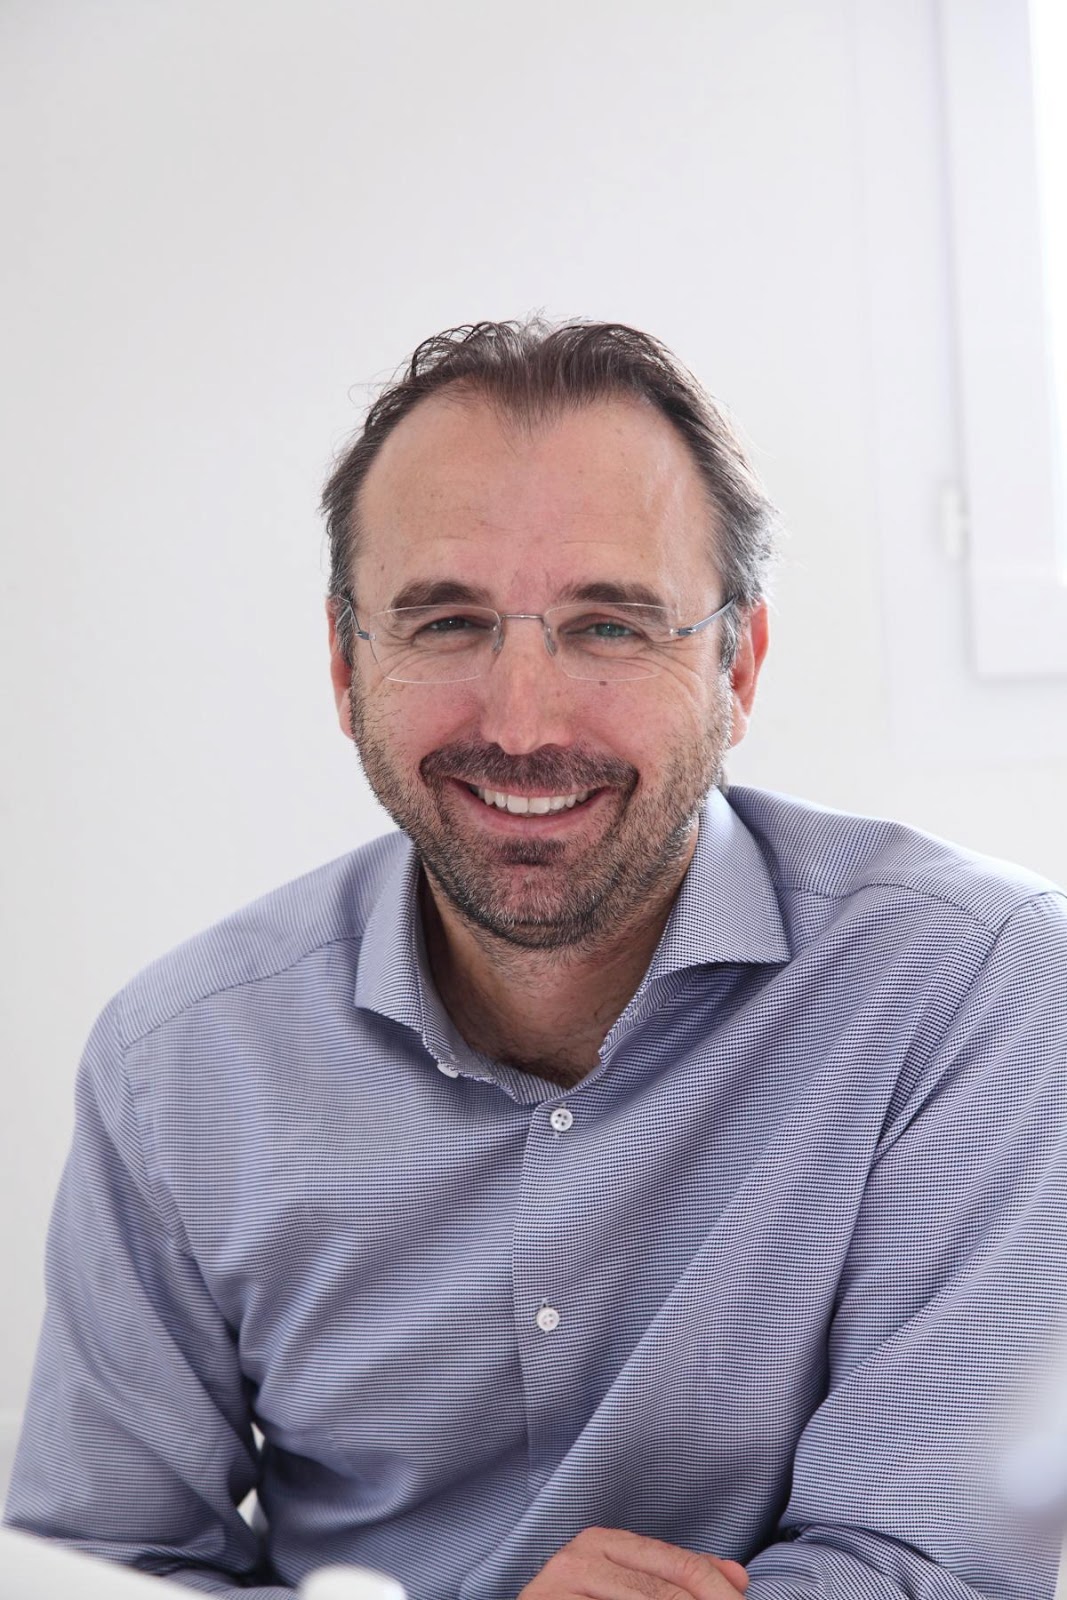
I received an email from the pharmaceutical company Nobel Biocare asking if I would be free to take some portraits of a dentist for an article that they will soon be publishing.

When I  responded positively that I was available, I was sent details of the shoot and the requirements of the image that was needed. Basically it was a vertical format, preferably three quarters or head and shoulder with a slightly out of focus background. Another proviso was that the dentist shouldn't be wearing his work clothes. 

All very straight forward except it was to be taken in his surgery during business hours. There would be patients in the vicinity. I decided to travel light and although all my gear remained in my car, I used only my 5d MKII with my new 24 - 105 zoom, a Speedlite 430 EX2 and an interesting diffuser that I picked up on a Swiss auction site for a few Francs. I love this device as it gives a lovely almost shadow free light.

The new diffuser in place

I arrived half an hour early at the practice and looked around whilst Dr Sleiter tended to business. As the background had to be slightly soft, I looked for a location that had something on the walls that wouldn't detract too much. I saw two rooms that I thought would be suitable for the image. In one room, the ambient light was measured at 1/80sec at f5.6 and the other recorded 1/200 sec at f5. These apertures were chosen to render the background as slightly out of focus.

When Dr Sleiter was free, he changed out of his dentist clothes and selected a shirt which (in my opinion) wouldn't clash with the surroundings or background.

We started in the first  room and I selected 1/80sec at f5.6 manually on the camera. The walls weren't white and this was seen in the image as the flash reflected from them. The resulting image is warm, which I quite like.


 1/80sec @ f5.6 with flash

My only concern was the background. I wasn't sure if it would distract too much on the magazine page where it was appearing.

After a couple of more pictures we moved to one of the surgeries where it was a lot brighter. I started (with the settings established earlier) with a head and shoulders of Dr Sleiter standing then I had an idea. What about making the foreground out of focus?  


1/200 @ f5 with flash

 To be safe, I first asked him to sit on one of the dental chairs and I took a head and shoulders pic of him.


 1/200 @ f5 with flash

Then I swung the dental equipment in front of him to give some sort of "meaning" to the image. This is my favourite of the bunch as it immediately says to me "dentist in his environment".

All in all an enjoyable assignment that went very smoothly with the minimum of equipment and setting up.

It will be interesting to see which image they use in the magazine.

Thanks for reading.


Monday, 5 November 2012

Unplanned photo class


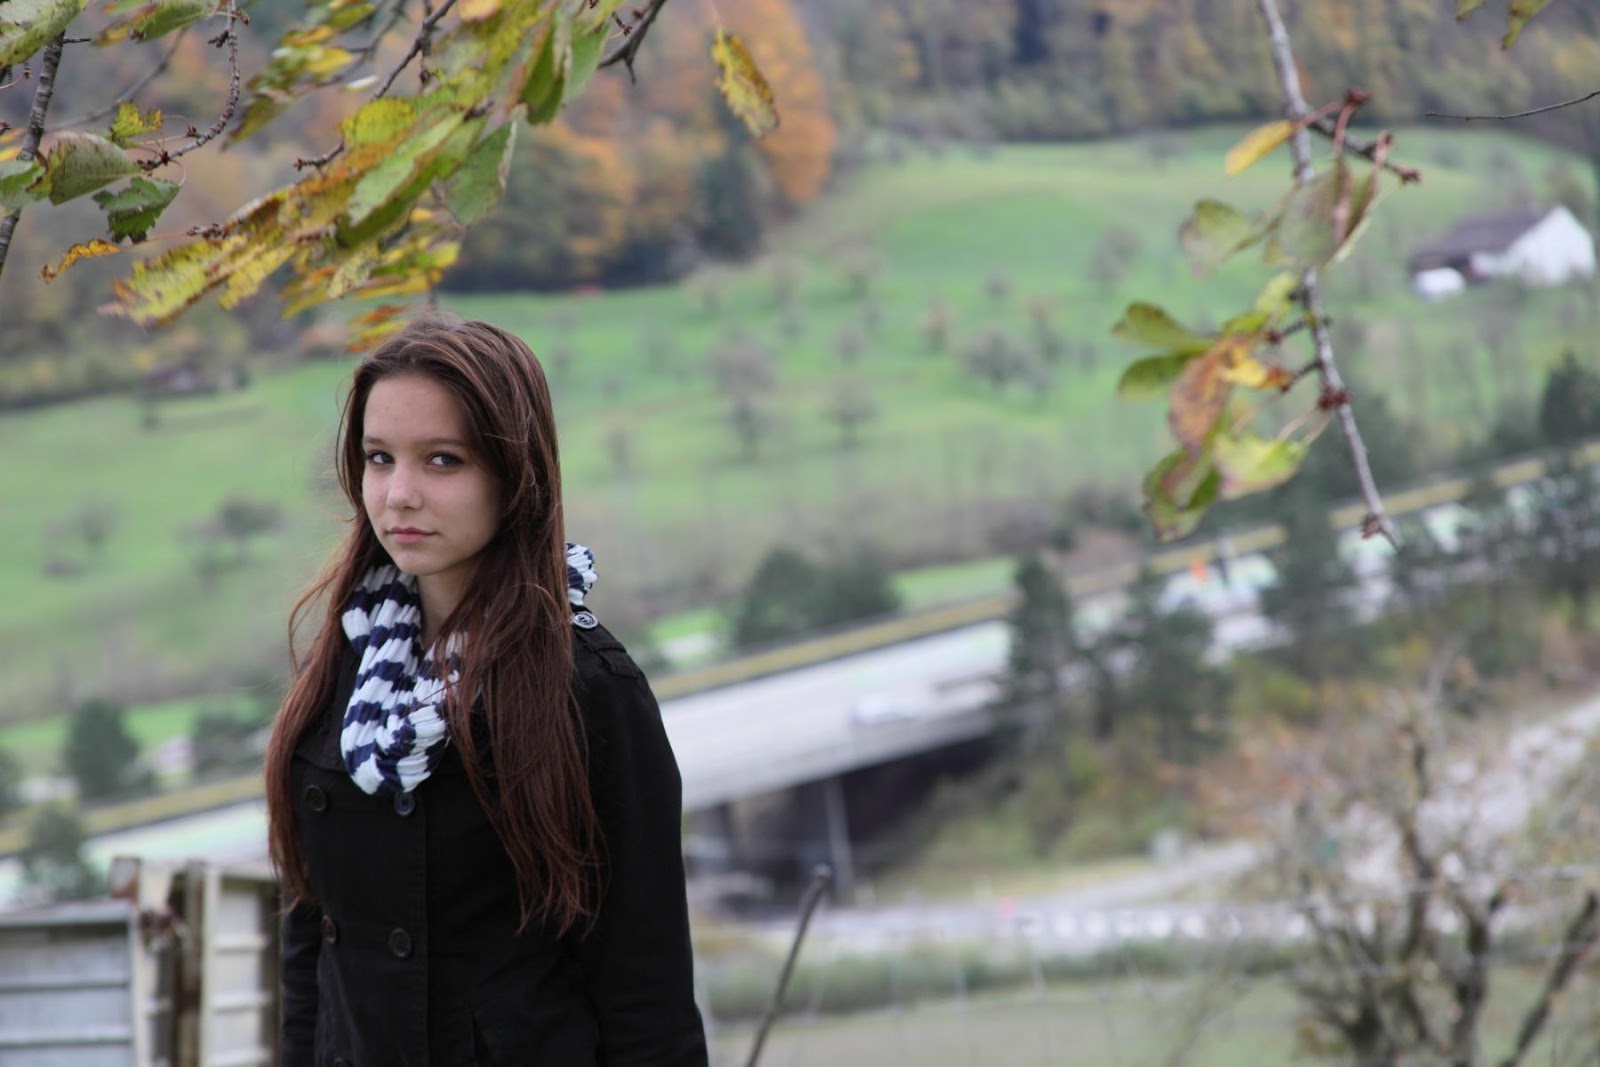
I went out for a walk on Sunday to try and catch some Autumn colours but things didn't go quite as planned.

Accompanying me and my wife and son were a friend and her twin daughters. 

I was travelling light and only had an EOS 5d MKII coupled with a 28 - 135 lens.


I took a few pics and was reviewing them on the monitor when one of that twins (I think it was Lera) asked if she could take a picture. "Sure" I replied and handed the camera over. Bringing the camera up to eye level she snapped three images in quick succession of her sister, Jeniya. One thing that I noticed was that she didn't hold the camera at arms length to look for an image on the rear monitor.


 Lera takes aim at Jeniya

 The resulting image

Lera then handed the camera over to her sister, who before I could say a word proceeded to take some pictures of her sister. This continued with the girls snapping away at each other and striking various poses.


 Now it's Jeniya's turn

Jeniya's portrait of Lera

They stopped after a few minutes and reviewed the images. The questions came thick and fast:


Reviewing the images

"Why is she not sharp?", "How can I make the background look soft?", "How can I delete that one?" "Why is it too dark / too light?".

I tried to answer as best I could in a non technical way and was surprised at how readily the twins absorbed the information. After each clarification, one of them would start taking a few pictures and eventually they would master that little bit of technique. The most difficult proved to be the focus lock, although that only took about five minutes (and maybe ten attempts) for them to master. After about forty five minutes, I had given up on taking pictures for myself and let the girls have free rein. With the basic techniques mastered, they snapped happily away for the next hour or so.


I didn't want to come away empty handed so I decided to snap a pic of the two girls jumping. They both readily agreed, threw off their coats and began jumping at my command!


My pic safely onboard, I handed the camera back and let them get on with it.

Here are some of the girls' images.

Jeniya by Lera:


 Lera shoots Jeniya


Two hundred and twenty six images later I was sat back on my PC for the download process. The girls had done well. Of 

the 226 images, 27 were rejected due to being unsharp. These were mainly from early in the day when the girls were getting to grips with the (admittedly heavy) camera.

I learnt three things that day: 

  1. Switch off the continuous shooting mode. The girls don't need two or three nearly identical images.
  2. Shoot RAW and JPG. Editing a couple of hundred images from RAW is time consuming and many of the images didn't need anything else done to them.
  3. Take a spare camera for myself next time!

Luckily I had my Samsung with
me to record the day!

I think that photography now has two new converts!


Thanks for reading.


Tuesday, 7 August 2012

Reflecting on keeping it simple

Back in June and early in July, I wrote about an impromptu photo session with Kristina. The gear I used couldn't have been simpler.

A camera body (in my case, the EOS 5d MKII), a standard 50mm lens, a flash (Speedlite 430 EXII) and a silver reflector.

Although I have a backpack full of camera gear I chose to work as simply as possible because it would make me concentrate on the picture and the framing as I wouldn't be able to zoom back and forth.

The shoot was in my bedroom at home and I spread two black fur blankets on the bed for a minimalist, non intrusive background. 

The bedroom faces west and because the shoot took place in the afternoon, we had strong light coming through the window which wasn't necessarily a good thing!

I posed Kristina mostly with her back to the light source to give her blonde hair some backlighting. This of course threw her face into shadow. This was solved with the aid of my Lastolite reflector. This reflector has been a constant in my camera bag for over twenty years. It is small, light and portable and a great help at "kicking" some light into the shadows.

 The reflector shown folded and open. 
This was the gear used for all three shoots
 
At the start of every pose, I would take a meter reading from her face with my aperture on the camera set to about f4. the ISO was set to 400. The exposure was then noted and transferred to manual mode. This was for two reasons. The exposure was unlikely to change and the wide aperture meant that the background would be slightly out of focus. Because of these parameters, I had to make sure that the eyes were always in focus. That's what people look at first on a portrait.

On this image, the reflector is just in front of  Kristina's 
knees throwing light back onto the face. f3.5 1/400sec

I was so please with the results that a few days later I received a call to take a basic head and shoulders portrait for a magazine story.

Although I had all my gear in the car, I turned up for the shoot with the above equipment.

To better show the difference when using and not using the reflector I took these two pics.
Before and after using the reflector 400 ISO
1/80 sec @f5.6

Of course you don't have to buy a reflector and can make your own. A colleague of mine used to use an A3 sized piece of card with aluminium foil stuck to it. Make sure though that it's the dull side that is reflecting and not the shiny side. The light will be softer and less prone to making your subject squint.
One negative aspect of making an A3 reflector as mentioned above is that it wasn't foldable, was cumbersome in the field and prone to getting scratched, torn etc. my advice would be to get a Lastolite or similar. take a look at their website. They have some interesting tutorials.

That's it for now. Hope you've enjoyed this piece. If you have any questions, please don't hesitate to ask.

Tom


Wednesday, 15 February 2012

Silk purses from sow's ears

Sometimes you expect something quite different from what you get when working as a photographer.

Sometimes the client will only allow me (because of security reasons perhaps), a limited time on the premises or maybe I'll only be allowed to photograph an office complex from the inside before it gets finished and the workers move in.

This was the case last April went I drove for one and a half hours to photograph a new office complex. We had been trying for a long time to get permission and finally it had arrived. I was to photograph the new work areas and was told that everything was "more or less ready" and that there was only a few hours to complete the job.

The building looked magnificent from the outside but unfortunately I couldn't photograph it because it was raining very heavily.

No sign of the rain stopping

I met with the architect and went to the building with him. The lifts didn't work so I should have realised that maybe all was not going to be well. I asked him which offices were finished and had our lighting systems installed. He hesitated.

"Well which ones are nearly finished" I asked.

"Maybe on the third floor" He replied.

We tried that particular floor and it was like a building site. There were holes, rubble, boxes and tape everywhere.

The architect made a quick telephone call to the construction foreman and asked where we might find a finished office space.

The sixth floor......................... perhaps.

So up to the sixth floor it was. Me, The architect, a Hasselblad camera case, my rucksack with EOS gear and two tripods. Thank goodness I don't use extra lighting.

I looked around on the sixth floor but and was at first disillusioned with what I saw. Holes everywhere , floor tiles missing and generally lots of rubbish consistent with this being a building site.

Leaving my gear (and the architect) behind, I set off alone to find somewhere that may be usable. I certainly wasn't going to admit defeat and go back to the office empty handed. Finally. One floor above I found a place where the mess wasn't too bad. I took a couple of reference pictures with my mobile phone.

At least the lights were working

For the next hour or so, we tidied up. I put floor panels back, wiped dust off wooden surfaces, swept the carpet and generally did as much as I could so that there wouldn't be too much to do afterwards in Photoshop.

Before and after the clean up (and Photoshop)

All the before images taken with a Samsung Galaxy

A similar problem occurred earlier this month when I was taking pictures in the french part of Switzerland. The company I work for had delivered lots of lights to the Beaulieu Halls in Lausanne. Again this was a work in progress but as I generally only go to that part of the World about once a year, I don't like to go back empty handed so I look at all possibilities.

Our guide (one of the workmen) told me that there were lots of lights installed in the children's area downstairs.

"it's a massive hall with lots of inflatable castles for the children to play on" he said.

"How many is "lots?" I asked"
"About twenty-five or so" he replied.

"And the lights are all working?" I countered.

"Yes" he replied. "Everything is working"

Sounded great. A massive hall, lighting that worked and time to work with because it was our last job of the day.

Except.

Except that NONE of the bouncy castles were inflated.

Going to be one of those jobs

After an initial disappointment I decided to work with what I had. The deflated castles, would, I decided add a splash of colour to the images.

Here I tried to fill some of the frame
with colour

More colour and a centre of interest
for the picture

So despite my initial misgivings, all it normally takes is a quick pause for thought plus (sometimes) some cleaning up and there you have it. A usable image.

Thanks for reading.

Tom


Thursday, 2 February 2012

Photo Safari

I've just returned from a three day photo tour in the French speaking part of Switzerland.

Over the three days I shot 300 images in nine assignments. From these I chose 191 "possibles"

The creative department whittled this down to 82 images for use in our catalogues.

All in all, a successful job.