Showing posts with label architecture. Show all posts

Thursday, 2 February 2012

Photo Safari

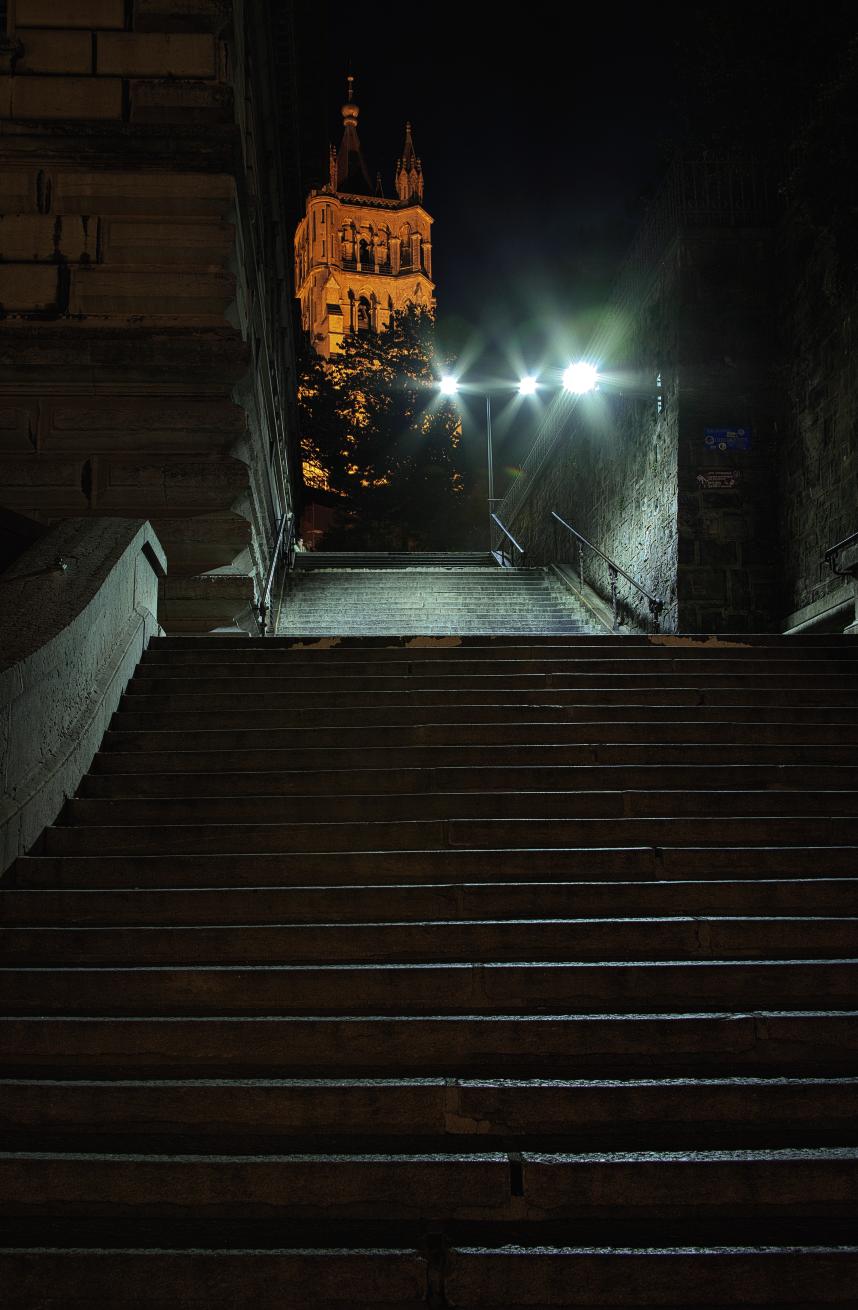
I've just returned from a three day photo tour in the French speaking part of Switzerland.

Over the three days I shot 300 images in nine assignments. From these I chose 191 "possibles"

The creative department whittled this down to 82 images for use in our catalogues.

All in all, a successful job. 

Tuesday, 27 September 2011

How did I do that? (Part 1 of many to come)

In an effort to bring more visitors to my blog, I will from time to time dispense hints and tips that I use in my photography in a "behind the scenes" manner.

This time I'm showing how I made this HDR.

As you may have read earlier, I took a holiday this year in the Italian region of Switzerland. From time to time I came across really beautiful, photogenic places of worship. When I see really old churches with frescoes, I know that I have to record them using HDR. This was no exception.

It was a really warm day and to get to the church, I had to climb LOTS of steps. For this reason and because of the winding alleys and streets, I decided against taking a tripod with me. I did however, take a mini G-Clamp table top tripod. This little beast which I bought many years ago can be clamped to a ledge, table or shelf or if there are none available, can be stood of a surface thanks to two small support legs. On this occasion, I lay on the floor (to get the perspective I wanted) and mounted the camera using the G-Clamp in its "tripod" mode.

 Discussing perspective with Nikita

The clamp itself is a bit flimsy so I used the camera in self-timer mode in order not to shake it too much. Ten seconds later, I had three shots of varying brightness which I fed to my HDR programme, the results of which you can see here.

The finished result after treatment from Photomatix


The image can now be seen in Google earth or on Panoramio at full size here.

To my left was an alcove which I also found interesting. For this image, I clamped the G-Clamp to a pew.

HDR has captured the highlights and shadows

The church is "Sta. Maria del Sasso"located in Morcote, Switzerland.

Thanks for reading. If you have any questions, please don't hesitate to ask.


Tuesday, 26 July 2011

Abroad in my own land.

My holiday this year is in the Italian region of Switzerland. It's like being abroad in my own land. Everything is different. The language, the food and the attitude. Only the currency is the same. So much to see, explore and photograph.

Tuesday, 11 January 2011

My favourite fourteen

I’ve just been sorting through the images that I took last year in my job as photographer for Regent Lighting here in Switzerland.

I took literally thousands of images and these have now all been categorised, sorted and saved along with their associated backups etc.

I was distracted by reading some of the many “best of” type posts that inevitably appear every year’s end on the ‘net and in print.

With that in mind I decided to choose my favourite images taken in the course of my work last year and remark on a few of them.

All were taken with my Eos 5d. I used my 17 – 40 F4, the 28 – 135 or my 24mm f2.8. The 17 – 40 proved the most popular with the majority taken using that lens.

My work, when I’m on location requires that I reproduce the lighting effects as faithfully as possible. That means no extra lighting. Just me, the camera, a lens and a tripod. Sometimes it’s relatively straightforward such as photographing at dusk of an exterior building lit from out or inside.

These images were all taken using the HDR method of combining three exposures and blending them into one in which details can be seen everywhere.
 Bracketed exposures of 2.5, 1 and 6 seconds. f10
400 ISO. 28 - 135 zoom at 28mm setting.


 Bracketed exposures of 2.5, 1.3 and 5 seconds. f13
400 ISO. 17 - 40 zoom at 17mm setting.


Sometimes however, it gets a tad trickier. I will have to photograph a room where the lights are burning. A “normal” exposure will lead to the lights being “burnt out” on the picture. The same is true if there is a window in the shot, as the daylight can often burn out and look false. This is where HDR again comes to the rescue rendering details in the highlights and shadows.


  Bracketed exposures of 1, 1/2 and 2 seconds. f18
200 ISO. 17 - 40 zoom at 17mm setting


 Bracketed exposures of 1/2, 1/4 and 1 second. f18
400 ISO. 24mm Lens

 Bracketed exposures of 1/2, 1 and 2 seconds. f18
400 ISO. 24mm Lens
  
Bracketed exposures of 1.3, 1.5 and 3 seconds. f13
400 ISO. 17 - 40 at 17 mm setting


  Bracketed exposures of 1/4, 1/2 and 1/8 seconds. f20
125 ISO. 17 - 40 zoom at 17mm setting

Bracketed exposures of 1/5, 1/10 and 2.5 seconds. f18
200 ISO. 17 - 40 zoom at 17mm setting


Lastly there are street scenes which are also helped with the HDR method.


Bracketed exposures of 5, 2.5 and 10 seconds. f13
200 ISO. 28 - 135  zoom at 28mm setting
 
 Bracketed exposures of 2.5, 1.3 and 5 seconds. f10
400 ISO. 28 - 135 zoom at 38mm setting


 Bracketed exposures of 2.5, 1.3 and 5 seconds. f10
400 ISO. 28 - 135 zoom at 28mm setting


The only image amongst my favourites for 2010 that wasn’t an HDR is this one.

 Single exposure of 13 seconds. f13
400 ISO. 17 - 40 zoom at 17mm setting

I did make three images but ended up choosing this one as there were enough details already. You can read about the circumstances regarding the taking of this image in a previous blog post here.

All images were taken one of the three lenses mentioned above, normally at the widest setting (in the case of the zooms) with the camera on manual and set to f 10 or above

The 17 – 40 and the 28 – 135 are both nice sharp, contrasty lenses. The only corrections I’ve made are for distortion where the edges of wall etc., are curved. To correct this distortion I use “PT lens” from Tom Niemann. This can be used as a standalone programme or as a plug in for Photoshop. The newer versions of Photoshop have (I believe) this functionality built in. I however am using Photoshop version 7.0. It is a fantastic programme and recognises the camera and lens in use. It then corrects automatically or the user can further refine it. New lenses and Bodies are constantly being added. Take a look. It’s well worth the price.

That's it for now. As usual I appreciate your taking the time to read this and would welcome some comments.
Happy 2011.


Friday, 30 July 2010

Lens coverage

I often get friends asking me what type of lens to buy after they have bought a new shiny digital SLR. A lot of them have switched over from an old analogue model to a new digital body.

A friend asked me last week to recommend a lens for her. She found that the wideangle lens which came bundled with her EOS 550d wasn't wide enough.

"Would you recommend that I get myself a 24mm?" she asked

I knew then that she had probably previously owned an analogue SLR.

"A 24 mm lens on your camera would be equivalent to a 38mm on your old SLR" I told her.

"How is that?" she asked.

Well to cut a long story short. I explained to her about the coverage provided by the APS-c sensor in her camera compared to the sensor in my camera (an EOS 5d)

"Your camera's sensor magnifies the centre part of the picture by 1.6, where as mine uses all of the picture."

I showed her this little chart that I put together. The pictures were taken one after the other using the same lenses my EOS 5d and my new 7d. The figures in brackets refer to the magnification factor from the 7d, so for example, the 300mm on a 7d body is "equivalent" to a 480mm lens on my 5d.


This simple chart explains more than reading about it on the 'net.

She is now looking for a 16mm Sigma lens which will be equivalent to a 25mm wideangle.

When I bought my first digital EOS (a 20d), the widest lens in my arsenal was a 24mm. For someone doing architecture, this was useless, giving the coverage equal to a 38mm. I forked out for a 20mm but this was also too limiting, being equal to a 32mm. So I sold that lens and bought the very lovely Canon EF 17 - 40L. I also bought a full frame body to be able to use it effectively as the widest setting was only like using a 27mm!

This means that my lens collection now goes from a 16mm to a 300mm, but when I use both bodies, taking into account, the magnification factor, the focal length of the longest lens is increased to 480mm

Well. It's now nearly the weekend. Time to charge up your batteries and take some photos. As usual I welcome your comments and emails.

Have yourselves a great weekend.