A friend of mine who has a gun dealership asked my advice on taking product shots for a catalogue to be used at one of his upcoming auctions.


Some of the 600 or so weapons to be photographed and auctioned.
He had photographed previous auctions using a small point and shoot compact but was dismayed at the inconsistency of the results.
I discovered that he had an old Canon EOS 400d and we decided to use that for the shoot together with its 18-55 f3.5 - 5.6II kit lens. however, he was so enamoured of my demonstration of the EOS Utility programme (which comes with all canon raw capable cameras) where the camera can be tethered to a computer, that he went out and bought an EOS 70d.
My plan when doing product photography is always as follows:
1: If the products are on a wall or lying flat on a table, make sure that the camera is perpendicular to the subject. I use a simple spirit level on the subject and on the camera. At first I was using a small spirit level on the back of the 70d until I read the instruction manual during a coffee break that it had a built in electronic level!

Before discovering the electronic level!
2: Make sure that the basic lighting is consistent if you are looking for even illumination. That means take a light meter reading from different parts of the area to be photographed to make sure that there are no darker or lighter areas that your eyes might not register. For this shoot, my friend was using constant lighting so we could gauge visually where any inconsistencies might be.
3: When you have determined the correct exposure, use that for the whole shoot as long as the light is consistent.

Quick, simple and effective
4: Close the windows and draw the curtains (or blinds). If daylight is streaming into the room, it will show on the images as it gets progressively stronger and weaker throughout the day. the only light hitting your subject should be the stuff that YOU are supplying.
6: Start with the biggest items first. As the items get smaller, you move the camera nearer. You DON'T zoom in!. If the lighting is consistent, you won't have to change anything except the focus as you are moving nearer.
Once you have observed and used the above methods, you will find that it goes really fast. in our case, my friend had one person taking out the weapons, another laying them down, another taking a picture using the infra-red release (to keep camera shake to a minimum.) and a fourth person cataloguing everything as it was shot.

Workflow
Don't forget to take a few safety precautions. As our camera was balanced precariously at the end of a tripod extension arm, we used a carrier bag of ammunition to counter it!


Who needs expensive ballast bags?

Tripping over cables should
also be avoided.


Guns everywhere


Thanks to an organised and motivated team, we were able to churn our way through nearly 600 rifles, pistols, machine guns, grenades, muskets, flintlocks, rocket launchers (yes really) and assorted paraphernalia in two and a half days.
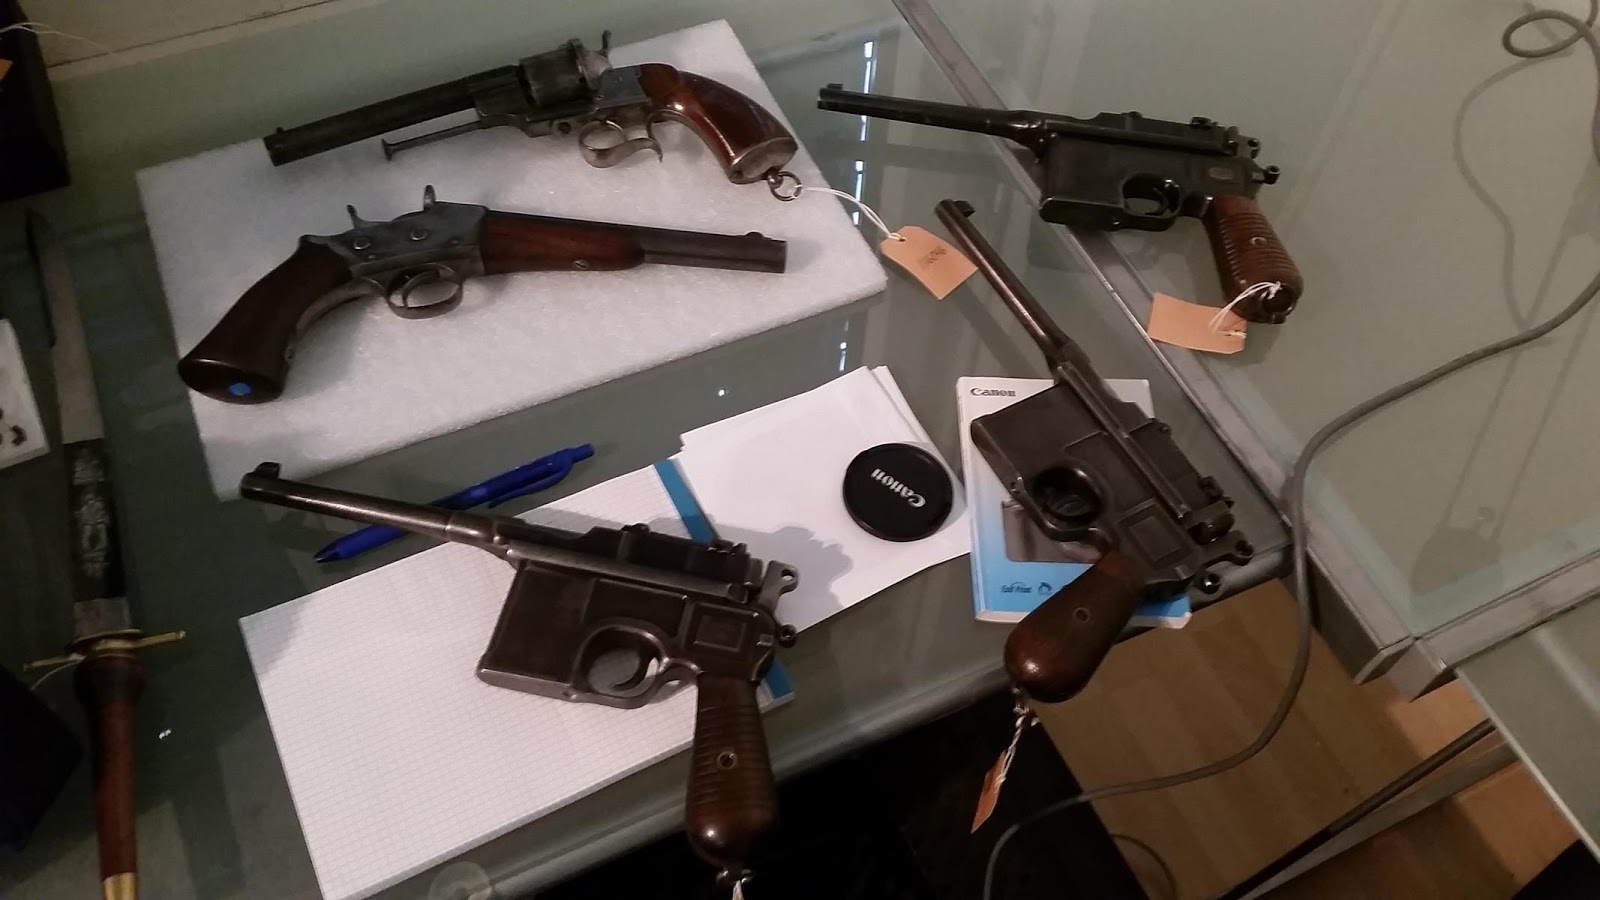
Here are a couple of the first results.


The auction which will be available internationally will be held here in Switzerland at the end of April. You can get a catalogue and find out more by visiting the Swiss Tactical Center website.
I hope you enjoyed reading this. If you have any comments, please leave them in the box below.
Tom